
Geometric Hexagon Backsplash in a White Corner Kitchen
Hexagon-based geometric pattern backsplash in a compact corner kitchen
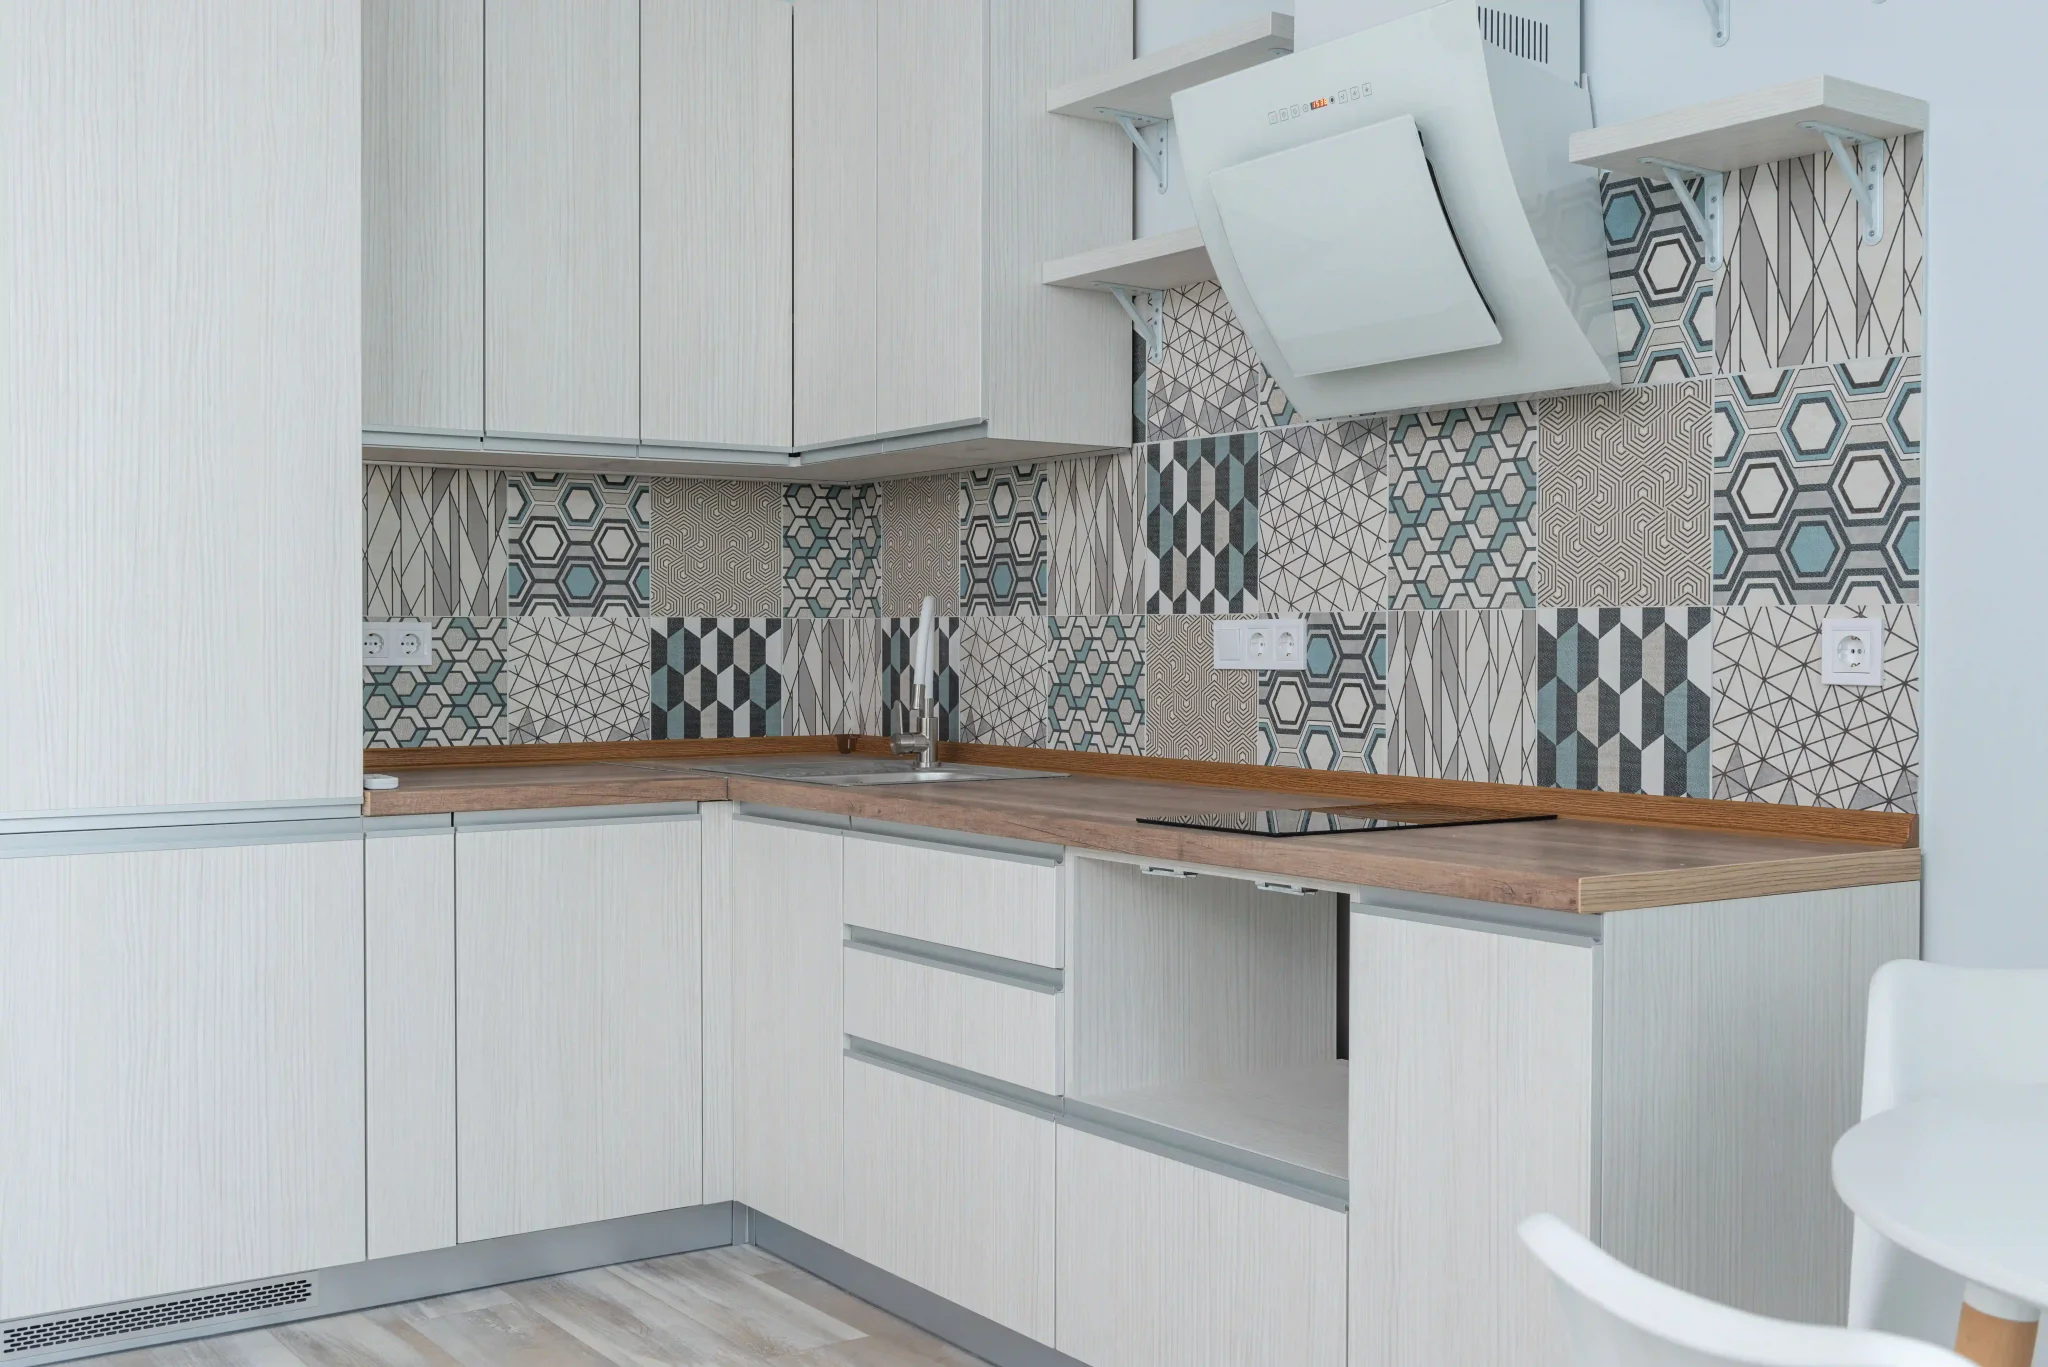
Walkthrough of the install
The hexagon-corner problem
Hexagon patterns are unforgiving where two walls meet. The pattern geometry doesn't naturally turn a 90-degree corner — if you just miter the tiles at the inside corner, half of the hexagons on each wall end up as sliver cuts that break the pattern. We solved it by starting the layout at the inside corner with a full tile straddling both walls, then working outward in both directions. The pattern reads cleanly from either direction.
Dry layout before thinset
On a pattern this bold we dry-laid every tile on the countertop first. Confirmed the pattern distribution, the alignment with the hood, and the cuts at the ceiling and base. Only after the owner looked at the dry layout and signed off did we start setting in mortar. Zero surprises.
Matching grout to the lightest field tile
We matched the grout to the lightest tile in the pattern (the cream base). A darker grout would have outlined every hexagon and turned the whole wall into a honeycomb grid. Light grout lets the pattern itself be the thing you see, not the grid holding it in place.
Planning a similar tile install in Alamo Heights?
Free written estimates for bathroom, kitchen backsplash, and floor tile installations across Alamo Heights and the San Antonio area.
(830) 465-3908